What to Use for Drawer Liners
Whether you need to line dresser drawers or shelves, this simple DIY method works well for any home furniture or built-in. Making the fabric stiff like paper, this process is similar to using wallpaper but the fabric is a lot cheaper and gives you more design options to choose from. 5 Easy Steps to Make Fabric Drawer Liners that are Paper-like, Scented & Stain-Resistant.
If you are in a hurry, here is my secret weapon to make sure the drawer liners are stiff and easy to cut, but read below for my other tips!
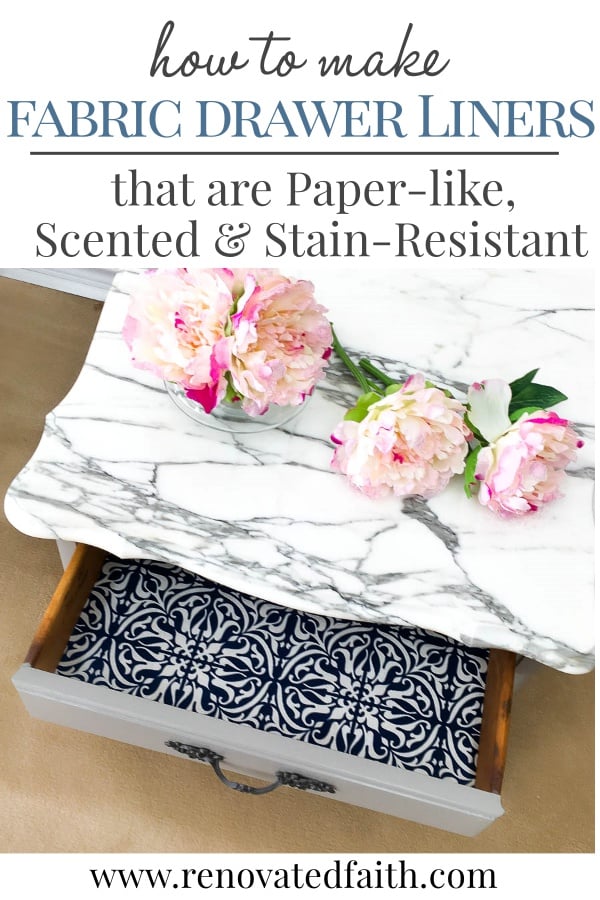
How to Make Fabric Drawer Liners
You may have seen my marble side tables in my recent post HERE but what I didn't show you was how I made the fabric drawer liners:
- Easy to cut like paper
- Lavender Scented
- Easily Removable &
- Stain Resistant
This process makes lining drawers with fabric so much simpler. Since the fabric becomes very stiff it easier to cut to the right dimensions without a frayed edge as regular fabric would. Also, these drawer liners are removable if you want to change them out later.
I also show you how to make them scented and stain-resistant. Because let's face it – if you have kids, nothing in your home is safe against spills. This brings to mind the time my daughter spilled sprite in her sock drawer.
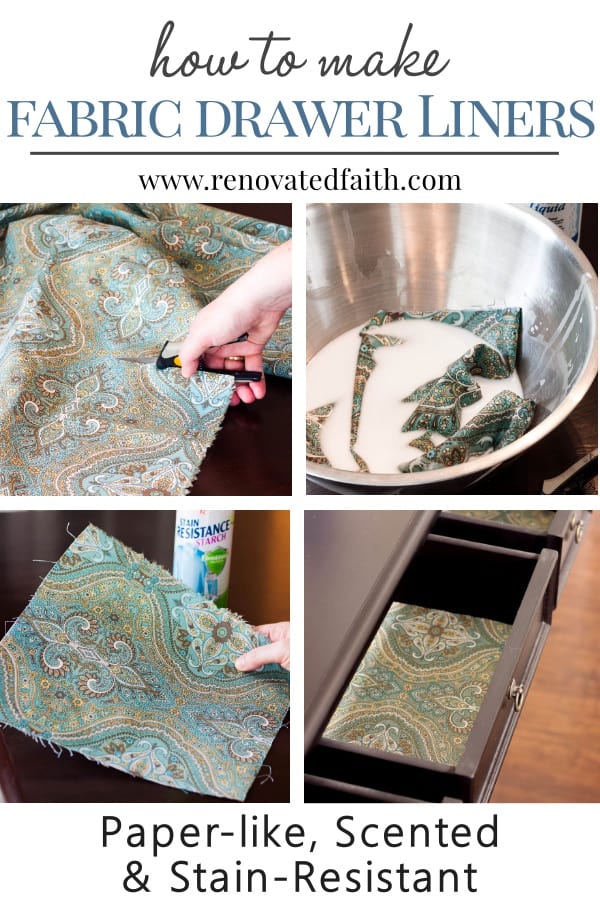
How to Line Drawers
To make your own DIY dresser drawer liners, you'll first want to find the right fabric. You can pick any kind of upholstery fabric and there are always plenty of design options to choose from! I love Hobby Lobby and JoAnn's for fabric but I was pleasantly surprised to find both of the fabrics in this post at Walmart.
Supplies for DIY Dresser Drawer Liners:
(This post may contain affiliate links. See my disclosure here.)
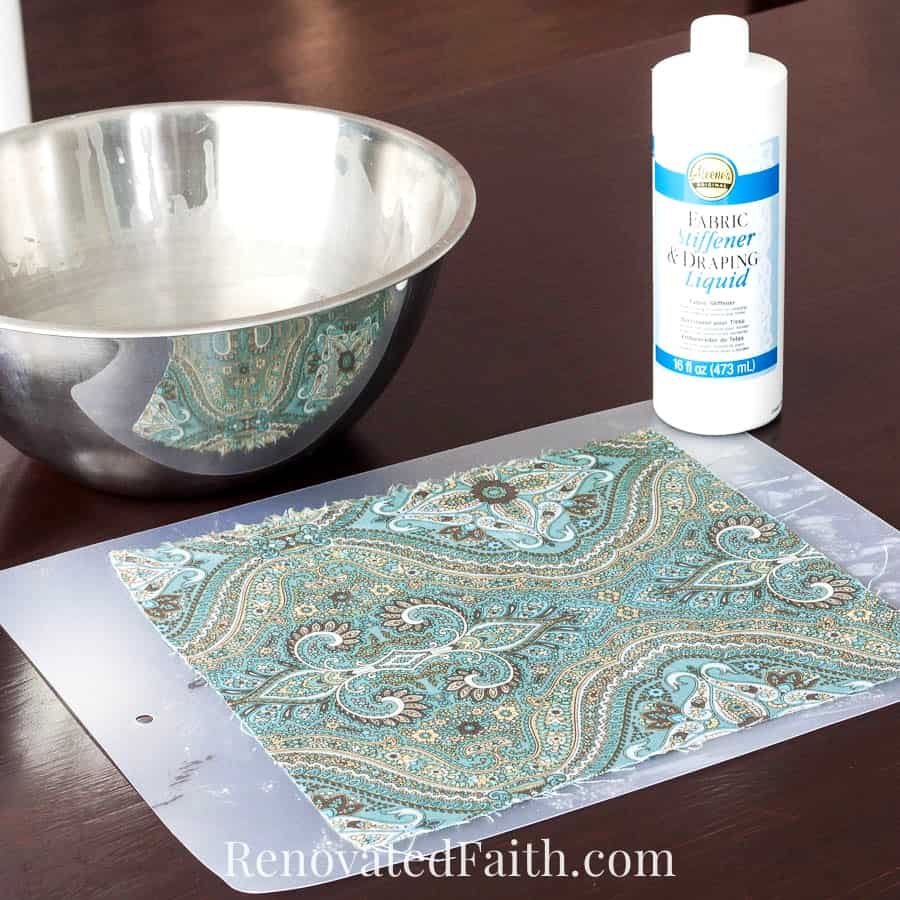
Fabric Stiffener and Draping Liquid
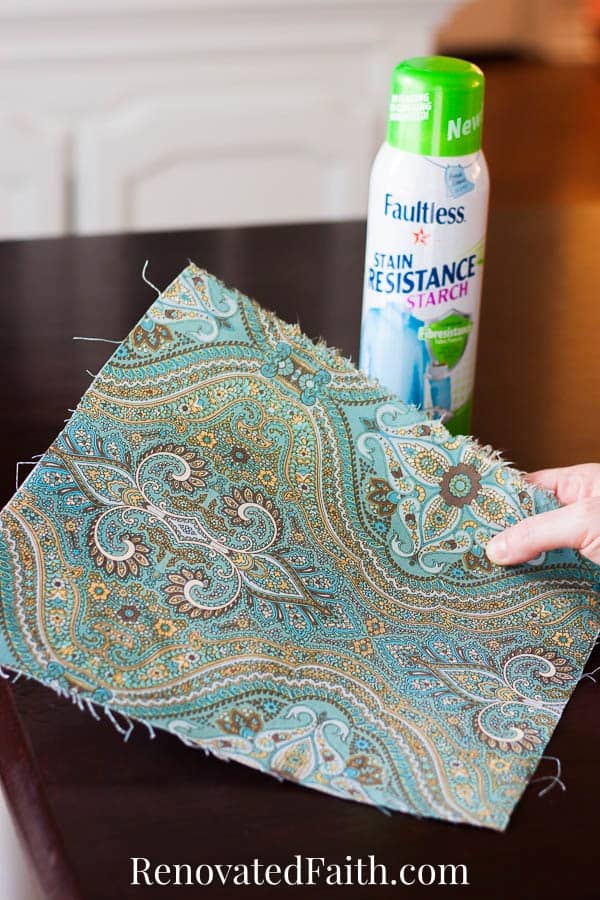
Faultless Stain Resistance Starch (if you have trouble finding this starch, any brand will work)
Loctite RESPOSITIONABLE Adhesive
Scissors – I own two of these because they are the BOMB!
Tape Measure
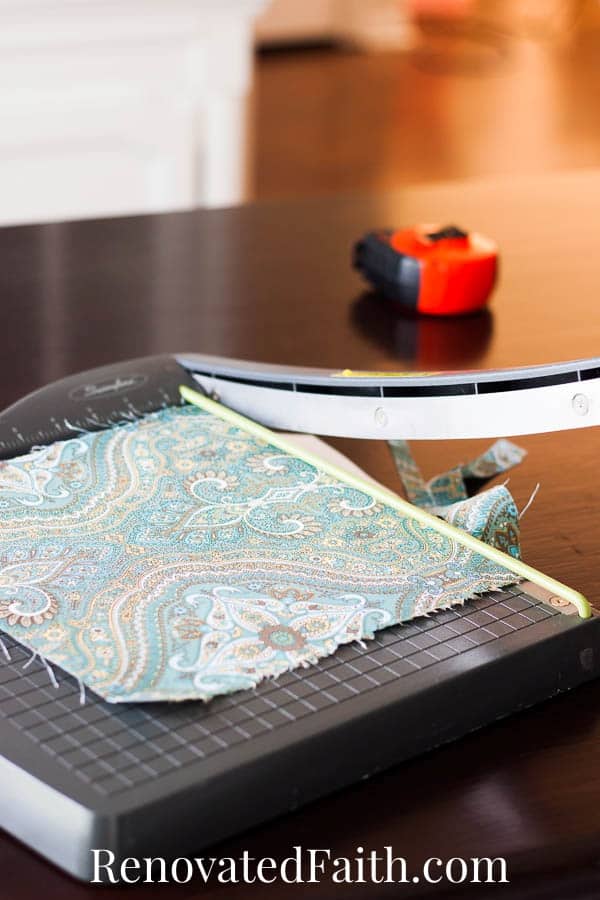
Paper cutter (optional)
Essential Oil (optional) Disclaimer: I know what you might be thinking…"First, she tells me not to use chalk paint and now she's promoting off-brand essential oils!?!" But I promise these are a fabulous quality and much nicer on your budget.
Before getting started, now is a great time to address any potential issues with the drawer. Often I will rehab furniture and it can have a musty moldy smell, or even worse have the odor of cigarette smoke. Click here to find out how to get the smell out of stinky furniture and drawers.
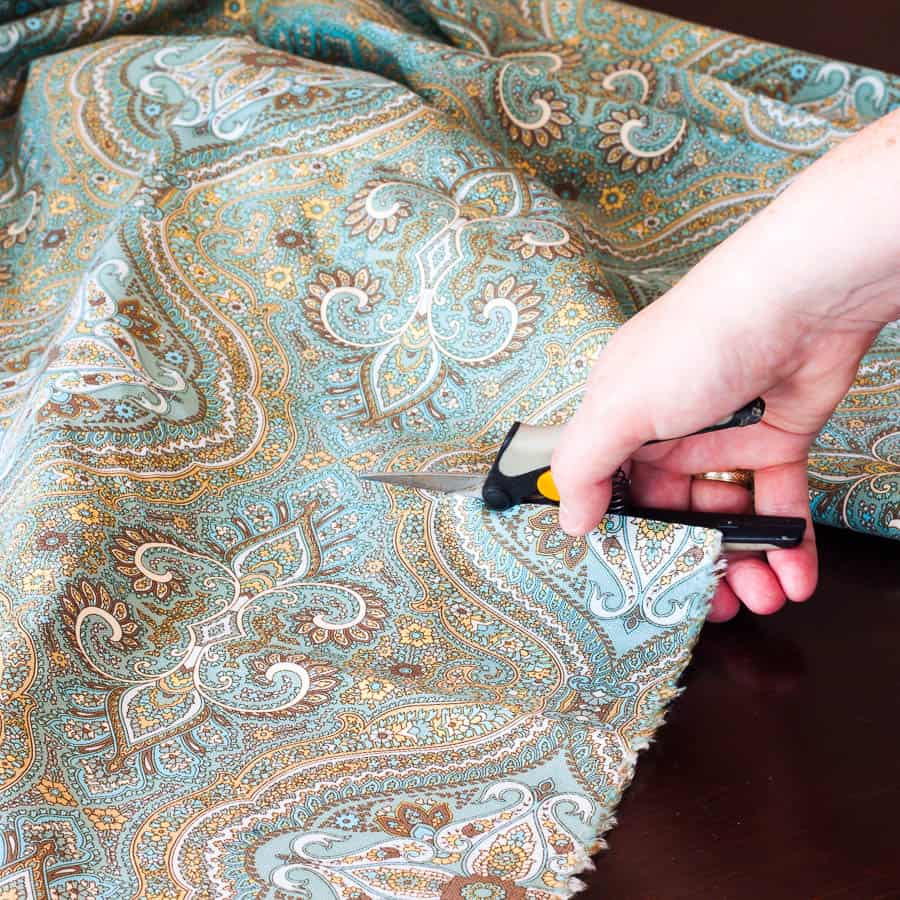
1.After measuring the insides of your drawers, cut the fabric 1-3 inches larger than your drawers. (I'll show you an easier way to cut them to size later so it's just like lining drawers with paper!) For now, feel free to make messy cuts to save you time.
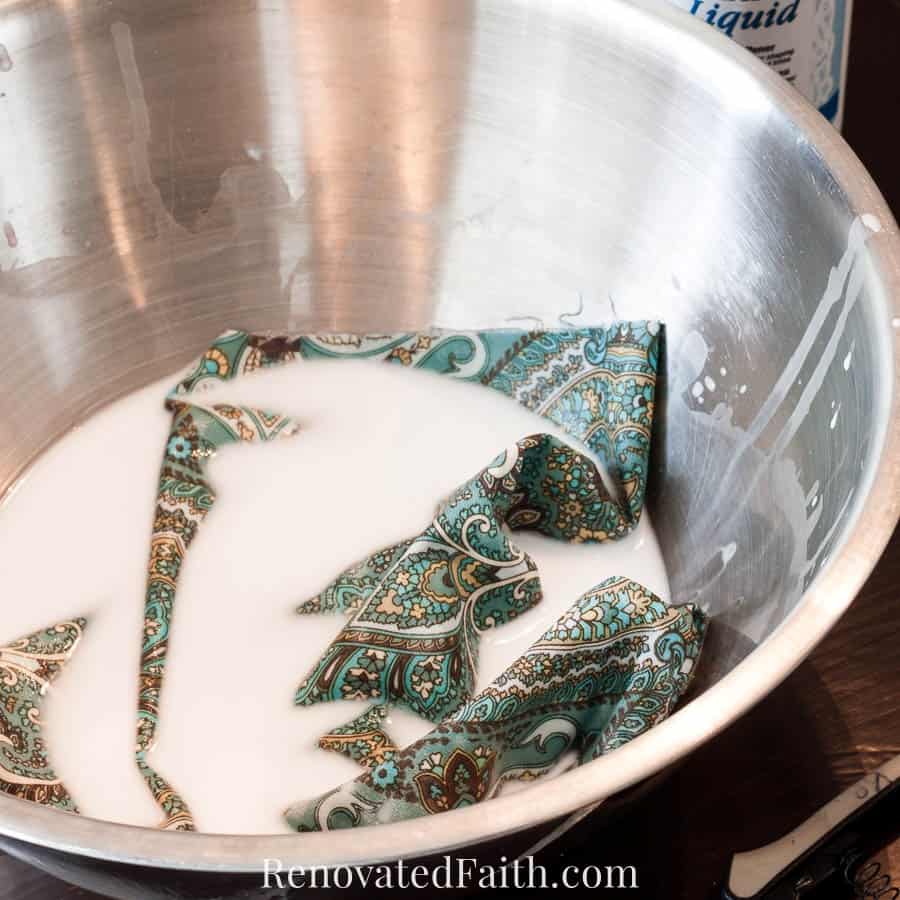
2. Next, soak the cut pieces of fabric in the Fabric Stiffener. Follow the directions on the back. You want to use just enough so that you can soak the fabric.
3. Now you can ring out the fabric a little and lay it flat to dry over something waterproof. I used one of those flexible cutting boards or you can also lay out a plastic trash bag. Flatten out the wet fabric with your hands. The fabric colors will look a little muted but the starch will dry clear. Let them dry completely.
To make the drawer liners stain resistant, you can spray them with Faultless Stain Resistance Starch and iron over the tops. Now is a good time to add some scent to your draw liners by adding a couple of drops of lavender essential oil (I LOVE this brand at Amazon) to any spray bottle of water. You could also use any other essential oil scents like these.
4. The last steps apply if you want to know how to line drawers with wallpaper as you are basically lining the drawers with paper. Check out how stiff the fabric is in the picture above! Use a paper cutter or scissors to cut the fabric to size. If you have any trouble with the paper cutter, put a piece of cardstock underneath the fabric!
5. To make removable drawer liners you want to use a spray adhesive that is repositionable like this Loctite Adhesive 100. You will notice the reviews here are not that great, but it seems like a lot of people were trying to use it in place of a permanent glue. However, it is PERFECT for drawer liners that you might want to remove one day.
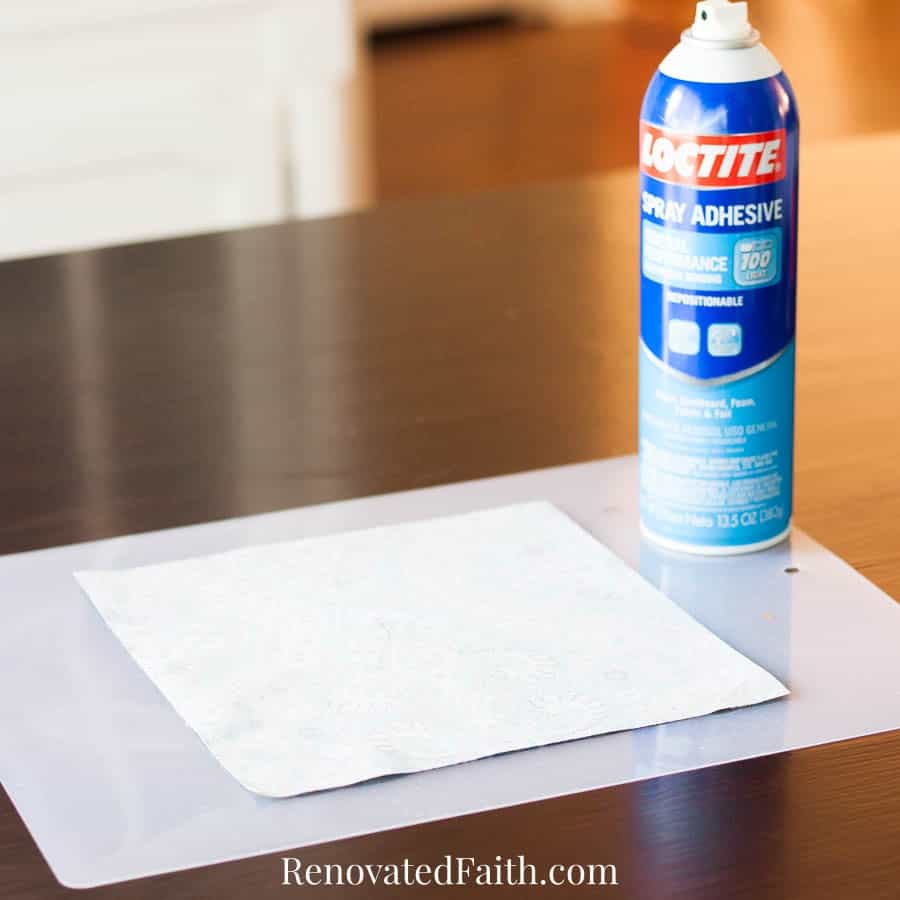
After spraying the backs of the drawer liners you can stick them to the bottom of the drawers.
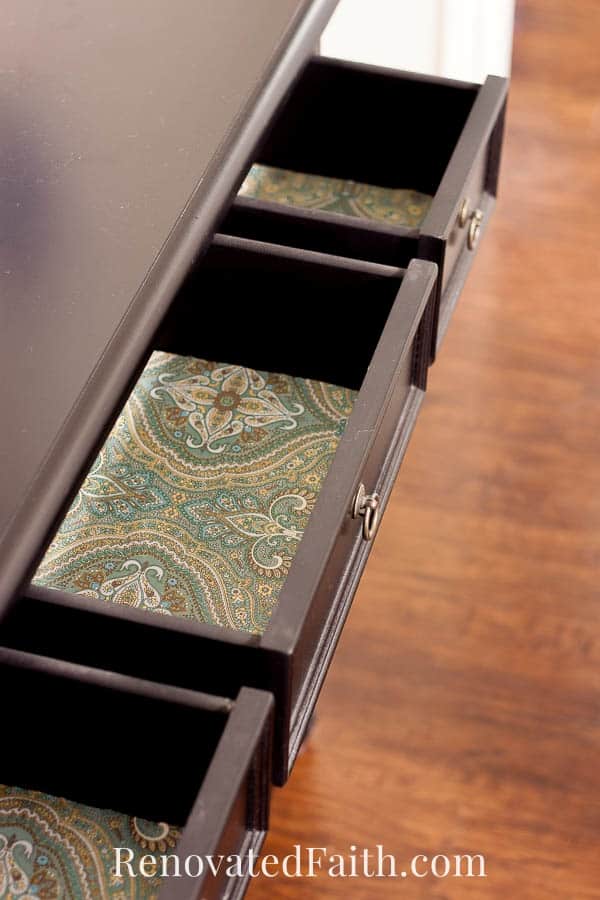
Now that you know how to cover dresser drawers with fabric, you can cover any other drawers whether they are desk drawers, built-in's or even shelves.
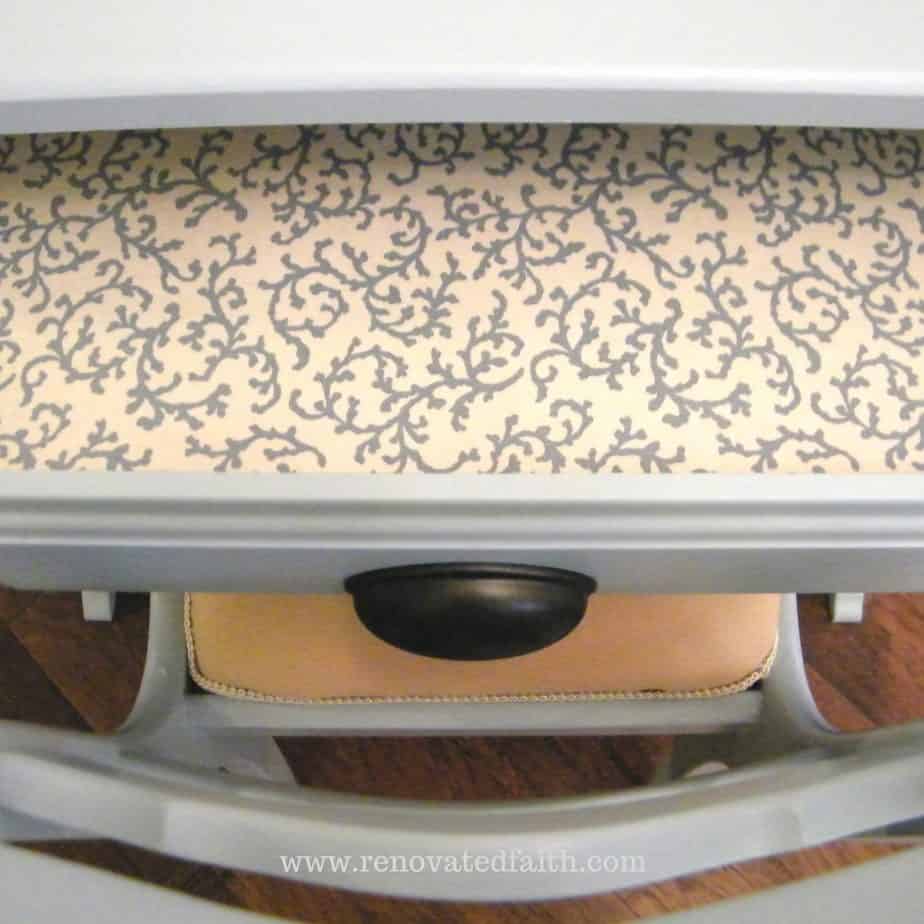
This writing desk used to have velvet drawer liners but I gave it an upgrade with this Waverly fabric in my favorite blue! You can see the full desk here.
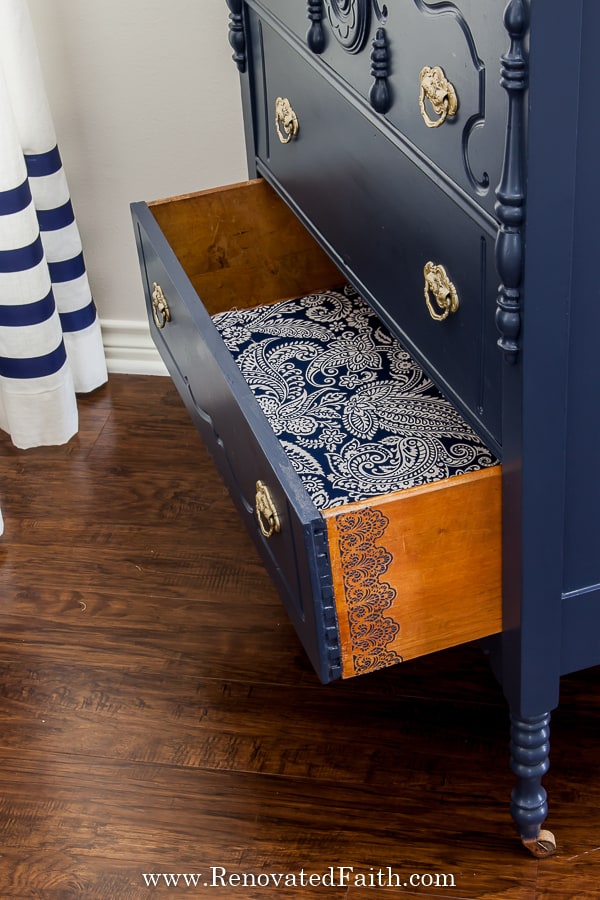
This dresser painted in Benjamin Moore Hale Navy was my grandmother's and you can see how I lined the drawers in it as well. You can see the full reveal of the dresser here: Benjamin Moore Hale Navy Dresser Makeover
And read here about how to stencil perfectly every time: The Best Way to Stencil without Paint Bleed.
You can also see how the side tables turned out and read about how destructive it can be to compare yourself with other women. I also share tips and tricks to help you climb out of the comparison trap here.

Want to save this post for later? Pin it here:
Make Drawer Liners from Fabric – Related Posts:
DIY Fabric Wall Art in Under 10 Minutes
A Better Alternative to Chalk Paint
How to Paint IKEA Furniture
How to Paint Furniture in Dark Colors (Navy Painted Antique Dresser Reveal)
Did you like this post? Be sure to share it with others. Have a wonderful week!
Blessings,

Be sure to follow the fun here!
Email Subscription | Instagram | Pinterest | Facebook | Twitter
Welcome to Renovated Faith, where I share about DIY projects, my faith and everything in between! When I'm not spending time with my family, you will find me redoing furniture in the garage or watering plants in my greenhouse. This blog is about transformation. Anyone can renovate a house but only God can transform our hearts!
Source: https://renovatedfaith.com/make-fabric-drawer-liners/
0 Response to "What to Use for Drawer Liners"
Postar um comentário